Preparation for installation guide
After you got shipment with the sensors and before installing the sensors on the final destination you should go through the verification process and prepare the installation plan.
Verification process
For starting the Verification process please connect the sensor, antenna, install the sim card, connect the power. You can find instructions on how to connect the antenna, install sim card in the AllUnite Equipment Installation Guide (paragraphs 1 - 6)
Please make sure that there is no PIN code on the SIM card
When you apply power to the sensor you need to make sure that:
The signal on the sensor is good.
The sensor is connected to the Teltonika RMS (status opposite the sensor is Green).
Access to Teltonuka RMS should be given by your request to JCDecaux operations
Process “How to check the signal strength” you can find in the AllUnite Equipment Installation Guide (section Process of Signal Strength Check)
Recommended signal strength should be no less than -80 dBm
RSRP | Signal strength | Description |
|---|---|---|
>= -80 dBm | Excellent | Strong signal with maximum data speeds |
-80 dBm to -90 dBm | Good | Strong signal with good data speeds |
-90 dBm to -100 dBm | Fair to poor | Reliable data speeds may be attained, but marginal data with drop-outs is possible. When this value gets close to -100, performance will drop drastically |
<= -100 dBm | No signal | Disconnection |
How to check RMS connection:
Login to RMS using your account credentials
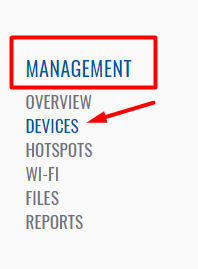
Go to Management section and click on Device
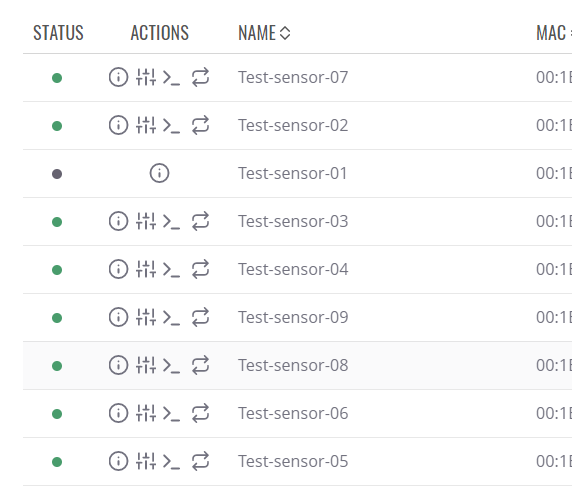
3. In the main content window you will see all devices which belong to your account (example pic)
If the signal is good and the devices are all online (green) in RMS, you should inform AllUnite with email to jcd-support@allunite.com . Only after AllUnite confirmation email, you can start installation on destinated screens.
In case of bad signal or offline status, please follow the troubleshooting guide.
Installation plan
In order to correctly assign sensors for traffic counting, you should download and fill the attached file with the information about locations where you plan to install the sensors.
For independent screens
Make a list of screens where you are going to install the sensors.
Fill in the table in the attached file allocating the sensor MAC with the screen ID.
Put all possible information about the screen placement.
Save the file with the name “Sensors allocation_Country name_Order number“
Send the file to apy@allunite.com with subject “Sensors allocation_Country name_Order number“
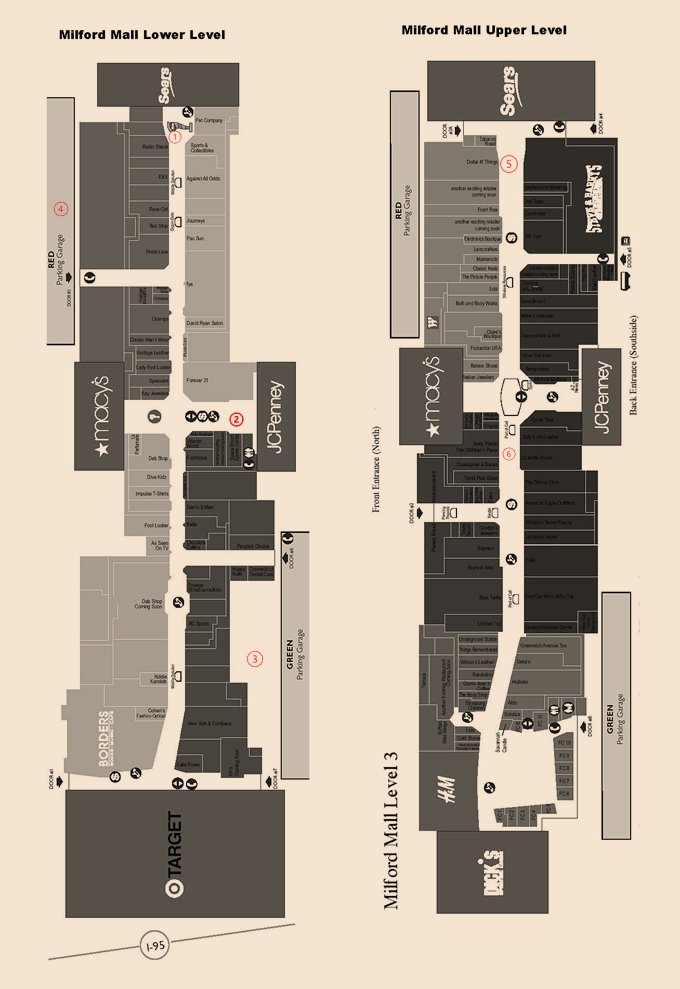
For grouped installation like a mall, metro, food courts, airports.
Make a map with visualization where the screens with the sensors are planned to be installed (like the picture below in the example).
Mark the unique numbers on the map for each sensor.
Make a list of screens where you are going to install the sensors.
Fill in the table in the attached file allocating the marks on the map with the sensor MAC and the screen ID.
Put all possible information about the screen placement.
Save the file with the name “Sensors allocation_Country name_Name of Location“
Send the map and file to apy@allunite.com with subject “Sensors allocation_Country name_Name of Location“
Example of the marked map for mall
Numbers in circles 1.2.3.4.5.6 specifies the location of the sensors. These numbers should be put in column “Map allocation ID (required only for grouped installations)”.
Example of Airport installations map

Be sure that you follow the plan during the installation of the sensor on the screen. The sensor MAC should align with the screen ID and location you specified in the file. If you need to make some changes when the file is sent, please email the corrected one with an additional comment in the subject that this is the corrected version.
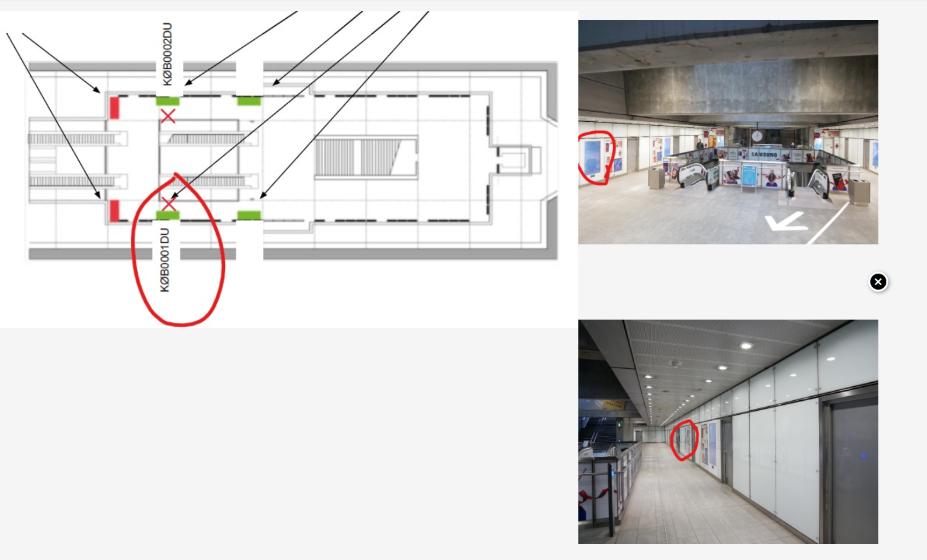
Example of Metro/Rail drawing
| File | Modified | |
|---|---|---|
|
Microsoft Excel Spreadsheet Allocation table Template to be filled.xlsx |
Feb 19, 2021 by @a user |